Create a spreadsheet
Have you completed the assignments for module 1?
A pre-requisite for this homework is that you worked through the “Interaction with GitHub” assignment of module 1. You will need your GitHub Personal Access Token to push your committed changes back to GitHub.
Step 1: Make a spreadsheet and save it
Layout a spreadsheet for data collection using a spreadsheet-based software (Google Sheets or MS Excel).
You are taking 20 samples of 1 liter faecal sludge from pit latrines and septic tanks at households and public toilets (5 samples each). For each sample, you note the number of daily users of the sanitation system.
Your sample collection starts on 1st November 2022. On day 5, you analyse the data in the laboratory for totals solids (TS) in g/L. In your spreadsheet, note the exact date of each collected sample.
This is you data collection plan:
- Day 1: 5 samples at households using pit latrines
- Day 2: 5 samples at households using septic tanks
- Day 3: 5 samples at public toilets that are pit latrines
- Day 4: 5 samples at public toilets that are septic tanks
- Day 5: Analyses of all 20 samples for total solids (TS) in g/L on a lab scale with accuracy of 0.01 g
Make up the resultsfor the total solids (TS) analyses (e.g. 12.48 g/L).
Save the spreadsheet as XLSX with a file name of your choice.
Step 2: Create a new repository on GitHub & clone to Posit Cloud
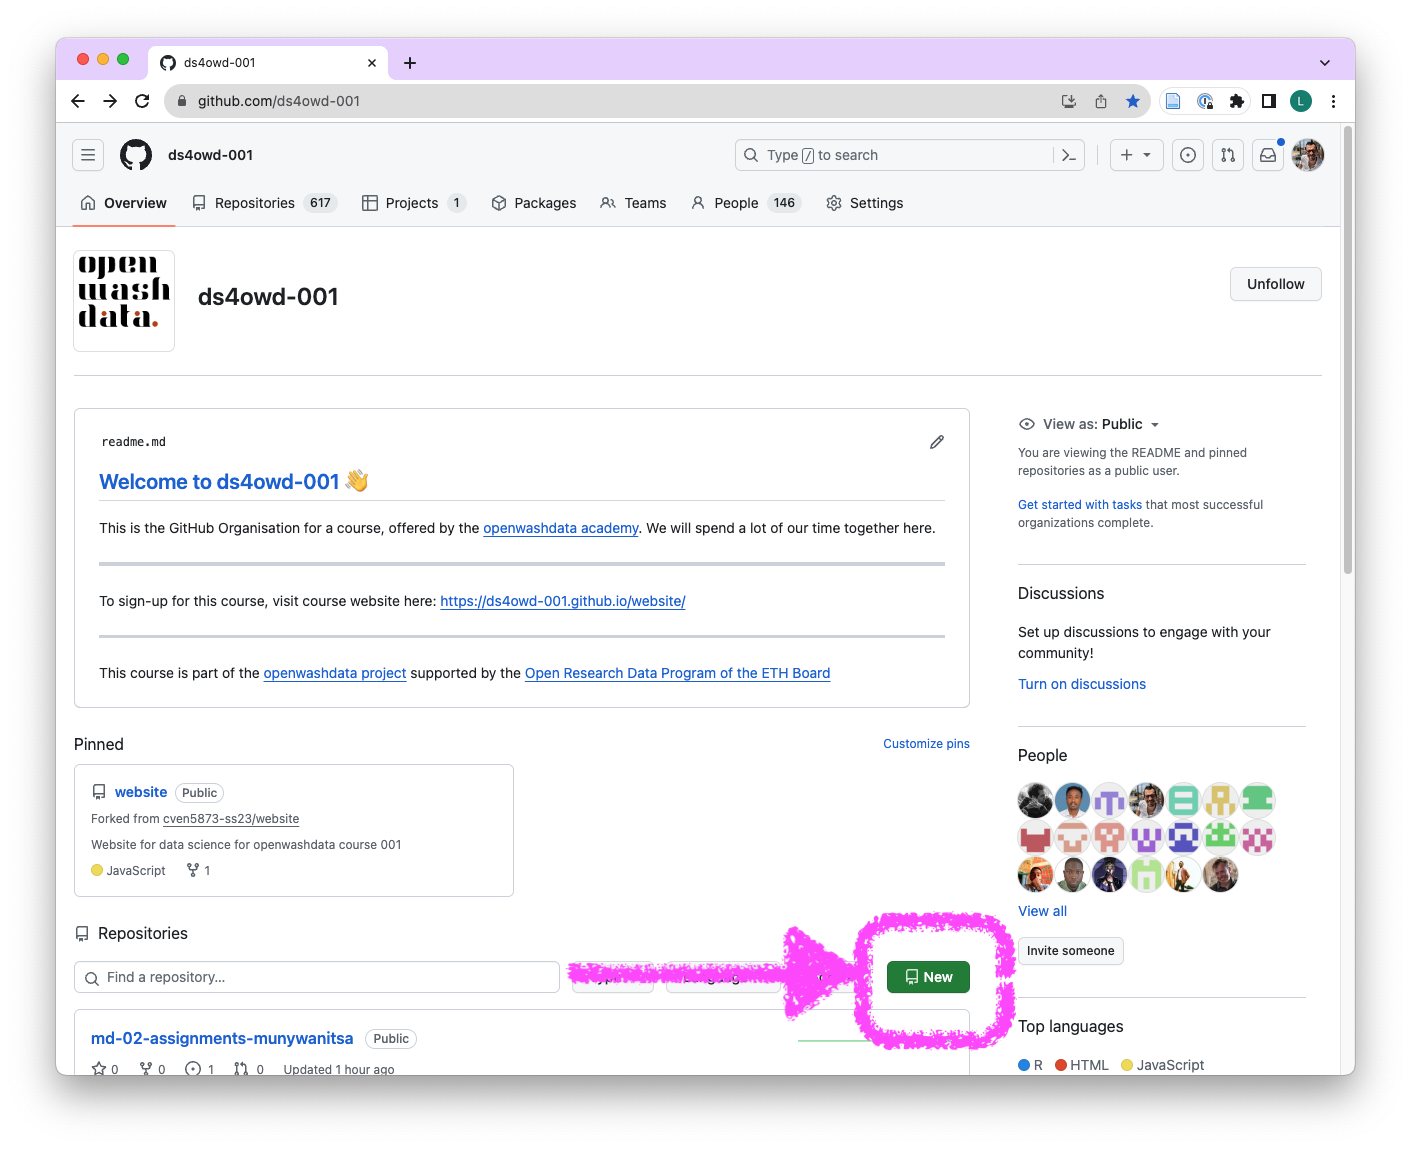
- Open the GitHub Organisation for the course https://github.com/ds4owd-001
- To right of the field “Find a repository”, click on the green “New” button.
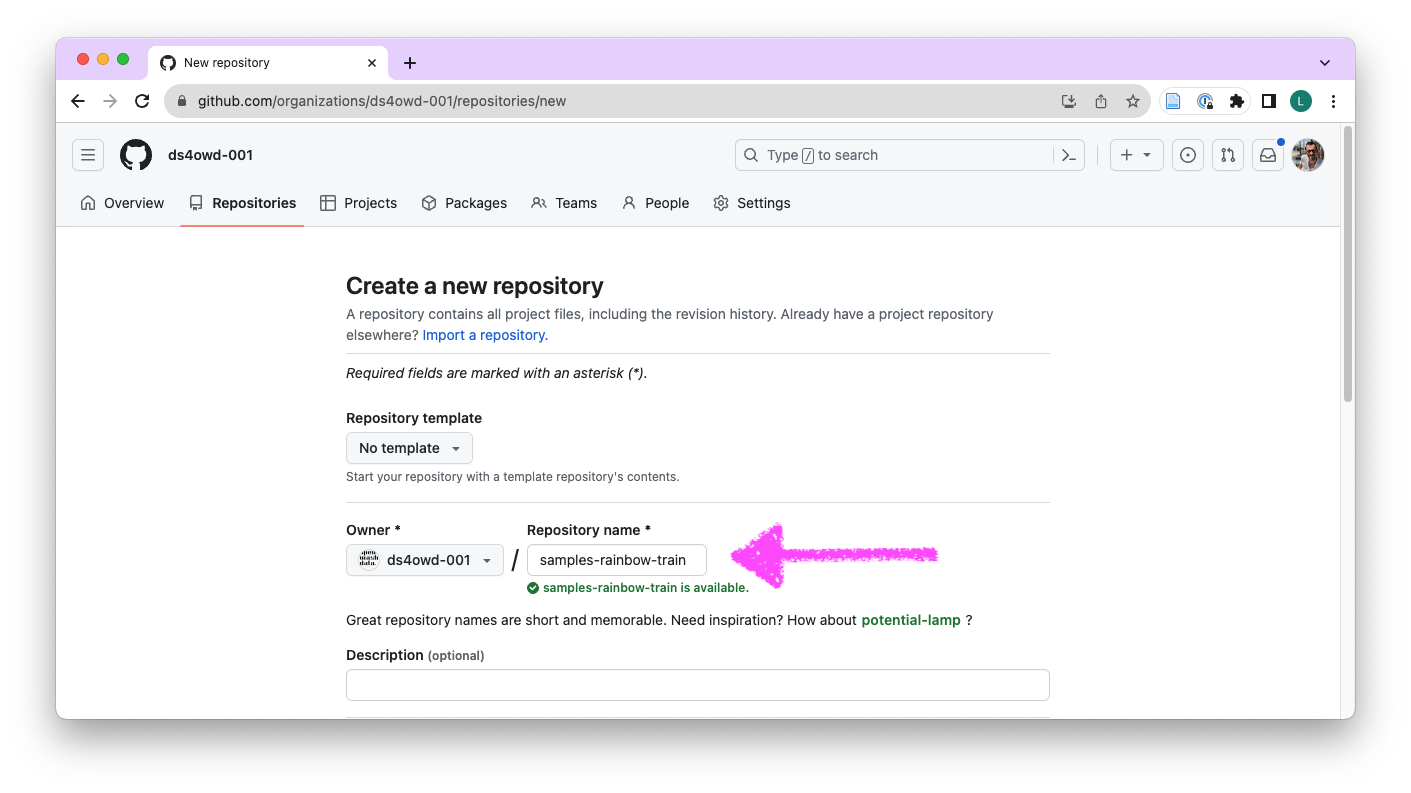
- In the “Repository name” field write
samples-USERNAME. Replace USERNAME with your GitHub username. Avoid using spaces.
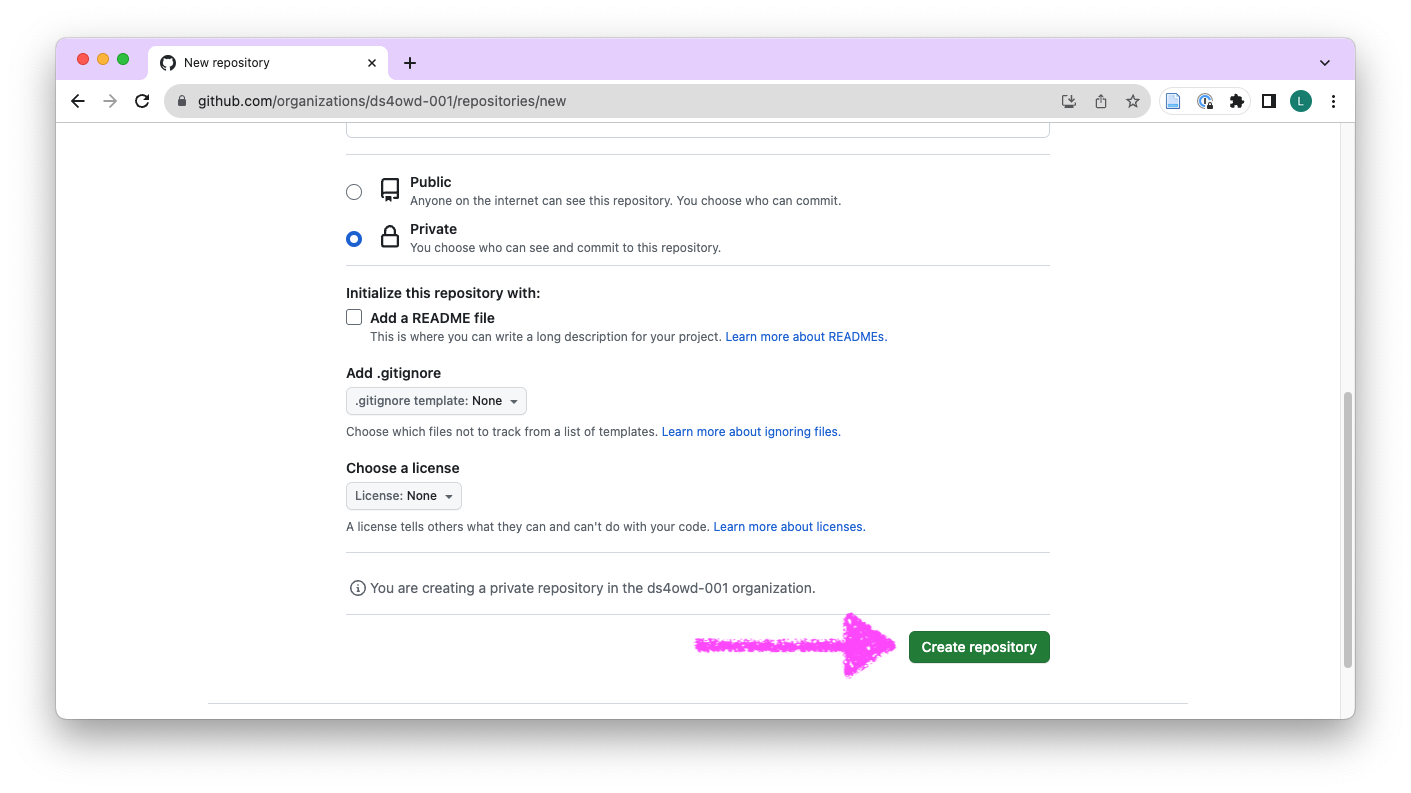
- Scroll down on the same page, and click “Create repository”.
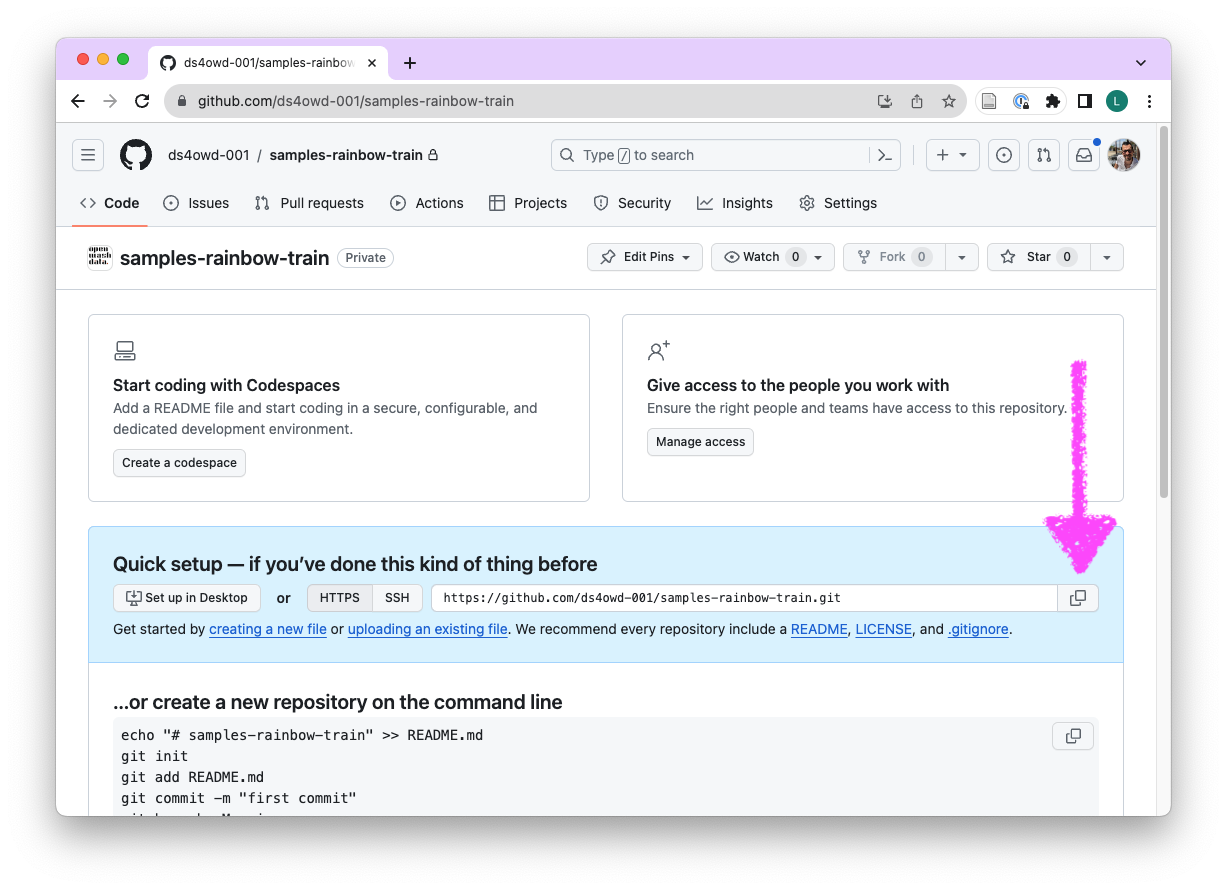
- In the “Quick setup” field, click on the clipboard next to the HTTPs URL
- Open the ds4owd workspace on posit.cloud
- Click New Project > New Project from Git Repository
- Paste the HTTPS URL from GitHub into the “URL of your Git Repository” field.
- Wait until the project is deployed.
Step 3: Upload the data
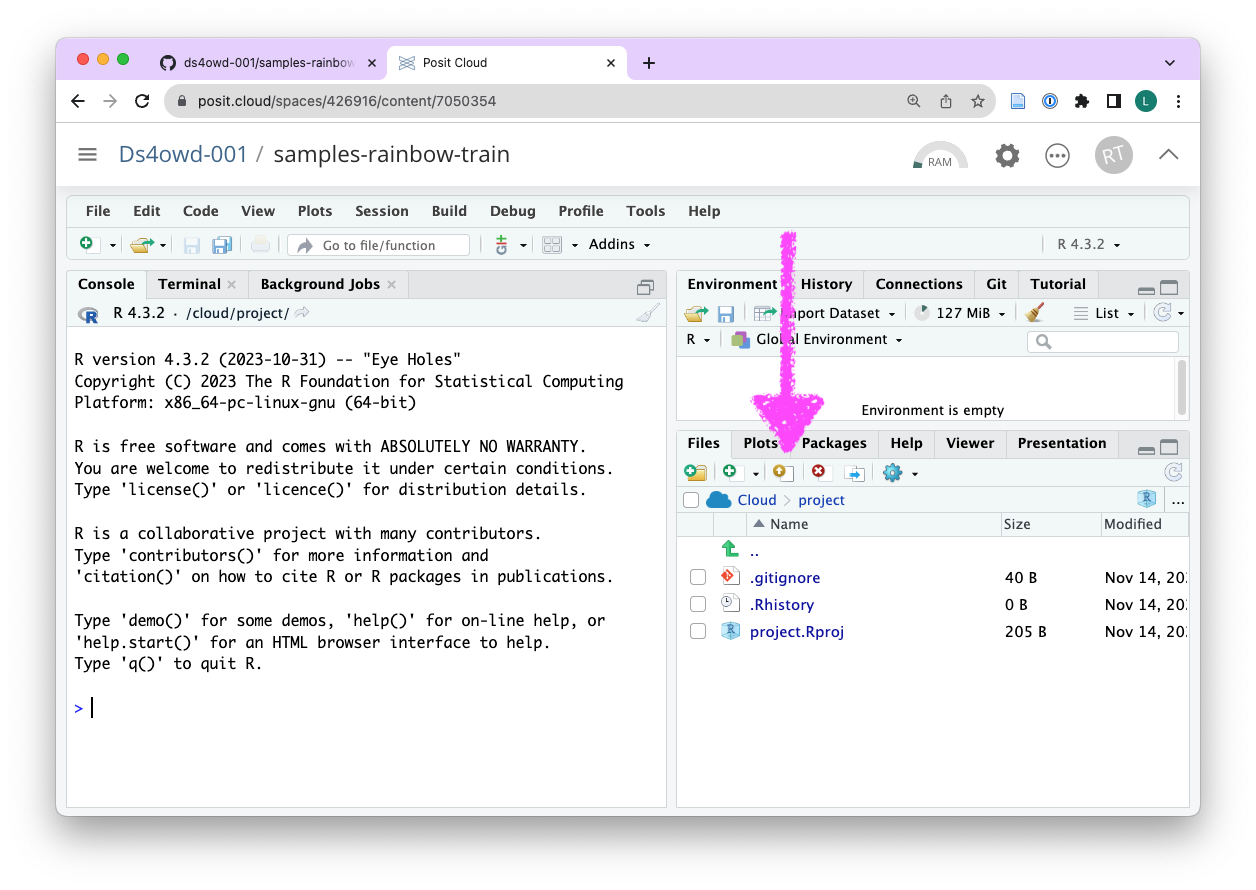
- Use the Files tab in the bottom right window to upload your spreadsheet from Task 1 into the folder
Step 3: Commit and push your changes
- Navigate to the Git pane in the top-right window of RStudio
- Check the box next to all files to stage them for a commit
- Click on the “Commit” button
- Enter a commit message in the “Commit message” field
- Click on the “Commit” button
- Click on the “Push” button
- Enter your GitHub username and GitHub Personal Access Token (PAT) in the “Username” and “Password” fields
Do not use your GitHub password
You need to enter the GitHub Personal Access Token (PAT) you created in Step 1 to push your changes back to GitHub.
Step 4: Open an issue on GitHub
- Open github.com in your browser.
- Navigate to the GitHub organisation for the course.
- Find the repository samples- that ends with your GitHub username.
- Click on the “Issues” tab.
- Click on the green “New issue” button.
- In the “Title” field write: “Create spreadsheet and upload to cloud”.
- In the “Leave a comment” field, tag the course instructors @larnsce @mianzg @sskorik01